By Smart Cam Guide
As an Amazon Associate I earn from qualifying purchases. This maintenance guide does not select a replacement product or include a shopping button.
For rolling bright and dark bands under artificial light, check Powerline Frequency on a Tapo camera that exposes that setting before replacing the camera. TP-Link identifies a mismatch between lighting flicker and camera exposure as one cause and recommends checking the frequency setting and the light source. This is different from an infrared reflection, a frozen stream or an empty recording history.
The menu and available choices depend on the camera, hardware revision, firmware and app. This guide does not promise that every Tapo model has identical controls or that one frequency fixes every LED lamp. It provides a comparison you can run with your own camera.
Describe the picture problem precisely
- Repeating bands or moving ripples: follow the light/frequency comparison below.
- A large white patch or reflection near glass: investigate the light path and nearby surfaces instead.
- The whole picture stops moving or disconnects: collect network and stream symptoms; a frequency menu is not a general connection repair.
- Live View is clear but no clip is saved: investigate recording settings and storage separately.
Record which description actually matches. Several problems can coexist, so avoid describing every poor nighttime picture as flicker. A short sample is more useful than a screenshot when the bands move.
Find the setting without changing everything else
TP-Link’s current FAQ gives this path: open the camera card in the Tapo app, open Settings, then Advanced Settings and Powerline Frequency. It shows Auto, 50Hz and 60Hz choices and advises matching the local power standard or comparing another available choice. It also notes that an unstable or aging light source can contribute.
If your screen differs, note the exact model, hardware version, firmware and app version, then use that product’s current instructions. Do not conclude that a missing menu proves the camera is defective. Do not reset the camera simply to look for a setting that may not apply to it.
Run a two-stage comparison
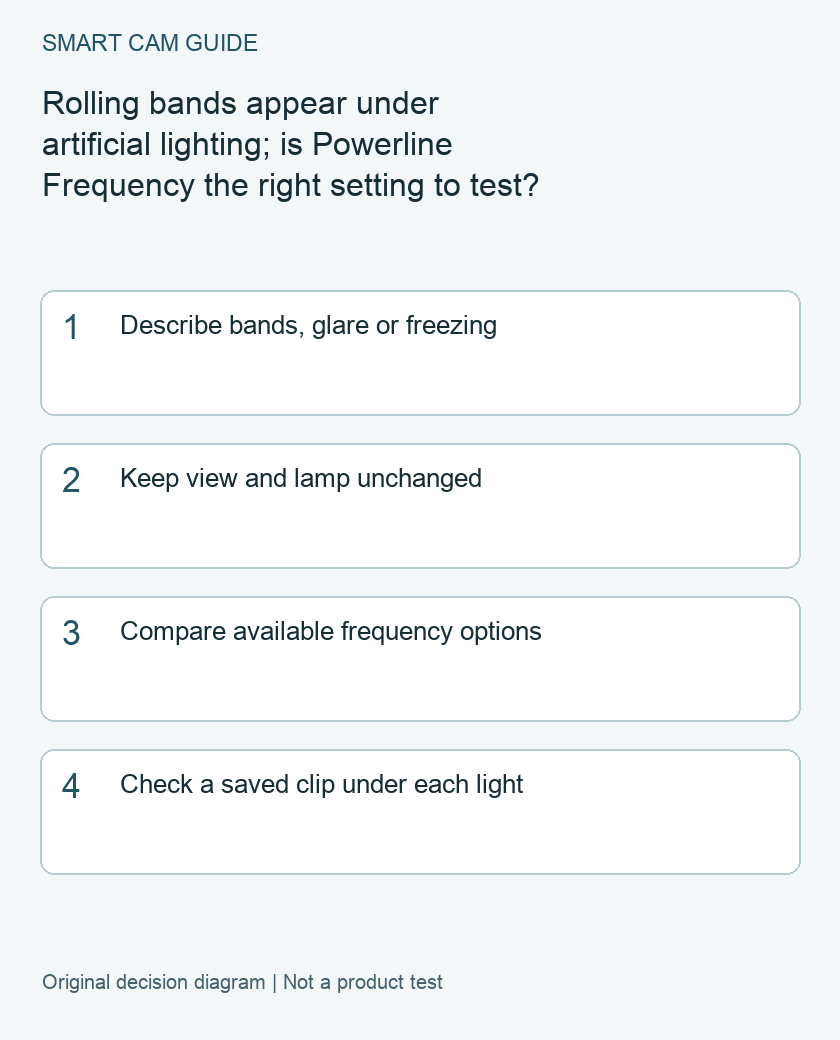
First choose a fixed view with an ordinary stationary object and the light that produces the problem. Keep camera position, light brightness, night mode and stream quality unchanged. Save a short baseline and record the current frequency choice. Change only that available setting, let the picture settle, and compare another sample.
Next, keep the better available setting and compare lighting conditions where practical: the problem lamp on, then off with adequate alternative light. Do not work on mains wiring or open the lamp. If the bands appear only with one lamp, that observation makes its light output worth investigating; it does not measure its electrical safety or prove that the sensor is faultless.
Watch the intended subject as well as the background. A setting that makes the wall look smoother but makes useful movement unacceptable has not solved your viewing requirement. We have not measured a frame-rate or motion-detail tradeoff for your camera.
Use this small comparison record
- Camera model, hardware revision, firmware and app version.
- Problem light and its normal brightness setting.
- Baseline: current frequency, night mode and whether bands appear.
- Alternative: one setting changed and what improved or worsened.
- Saved-clip check: same view, visible bands and useful subject detail.
Check a newly saved recording using the storage route you actually rely on. Improvement in Live View alone does not establish that an older clip has changed, that recording is enabled or that the saved stream is equally usable. Keep the baseline and improved sample labeled so support can compare them.
When to stop changing frequency
If the available choices make no useful difference, restore the original setting and keep the samples. Escalate with the comparison record rather than repeatedly resetting the camera or buying a higher-resolution model. If the symptom is glare through a window, use the separate placement guide below. If recordings are missing, solve that storage problem independently.
Replacement is a separate decision. Before choosing another model, require evidence that it works with your lighting and has the recording and power arrangement you need. A product listing’s resolution or color-night-vision label does not demonstrate freedom from banding under your particular lamp. No replacement camera is selected here because the cause has not been isolated.
Related guides
- Tapo C120 Night Vision: Invisible IR, Color and Status Lights
- Security Camera Through a Window: Fix Night Reflections Before Buying
- Tapo C120 Sends Alerts but Has No Recordings: A Decision Tree
Research basis and limits
Document-based guide by Smart Cam Guide, checked October 23, 2026. Manufacturer references: TP-Link How to fix a flickering issue on Live View of the Tapo Camera, FAQ4748. The comparison notes and decision sequence are editorial recommendations. We have not performed this procedure on a physical unit, measured reliability or inspected your installation. Follow the exact model instructions where the procedure differs.