By Smart Cam Guide
As an Amazon Associate I earn from qualifying purchases. Purchases through our links may earn us a commission at no extra cost to you.
Measure the approved path from the front unit to the rear camera before buying or fitting the kit. VIOFO describes a six-meter standard rear cable for the A229 Plus two- and three-channel configurations it lists. The straight-line distance between the windows does not establish whether that cable will reach safely.
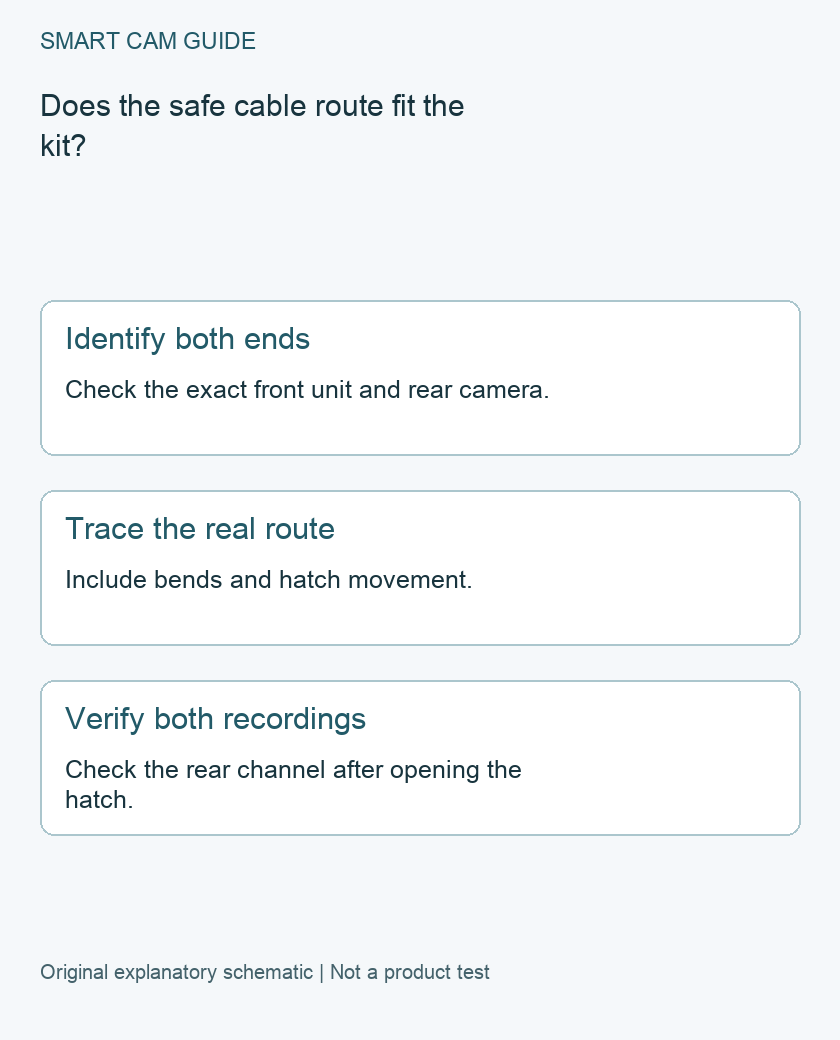
Measure the route with the plugs in mind
With the vehicle parked, mark the intended camera locations and connector orientation. Use a soft measuring tape or string along the route an installer has confirmed is suitable. Include turns, transitions and enough working length to connect both plugs without pulling on either socket. Record tight passages separately. A plug can be too large for a passage even when the cable length is sufficient.
Do not route across an airbag deployment area, pinch a cable under trim or improvise a path through a hatch seal. Ask the vehicle maker or a qualified installer about trim, existing wiring and permitted passages. A route that looks shorter on paper may be unavailable on a particular vehicle.
Check the full movement of the hatch
A camera mounted on moving glass or trim needs a route that accommodates the hatch when it is open and closed. Ask the installer to check connector strain, bend radius and whether any exposed section can be caught by a hinge or cargo. Check the view in the closed position and whether the chosen mounting spot is inside the rear wiper sweep where that matters. Avoid placing the camera where it interferes with the driver’s view or hatch hardware.
If the proposed route nearly uses all the stated cable length, confirm the dimensions with the actual kit and a planned service loop before installing. A compatible longer cable or a different mounting location may be a better choice. Compare the listed front unit and rear camera part numbers. A connector shape alone does not prove that a generic cable carries the right signals.
Confirm the rear recording after installation
Test while parked. Confirm the front and rear preview, then play back short saved recordings from both channels. Open and close the hatch using its normal controls and check the rear channel again with the hatch closed. A working front preview cannot establish that the rear camera is connected or recording. If the rear channel drops out, stop and have the route and connectors checked before relying on it.
This plan addresses the connection between cameras. Parking recording also depends on power and settings. Check those separately if the camera must operate after the vehicle is switched off.
Compare the exact US buying options
Check current details and price on Amazon. These are previously verified matching product destinations, not confirmation of current stock, price, seller, delivery or included accessories.
VIOFO A229 Plus 2CH front and rear dash camera
Consider this two-channel kit after confirming an approved route and compatible cable for your vehicle. Check the exact included rear camera and cable before installation.
Check VIOFO A229 Plus 2CH front and rear dash camera on Amazon
Related guides
- VIOFO A229 Plus Parking Mode: Is the HK4 Kit the Right Buy?
- VIOFO A229 Plus Emergency Lock: Find and Save the Incident Clips
- VIOFO A229 Plus Screen Goes Black: Screen Saver or Recording Failure?
Sources and research scope
Reviewed November 12, 2026. VIOFO rear and interior cable compatibility and standard rear length; VIOFO A229 Plus English manual. This is document-based guidance by Smart Cam Guide. The decision worksheet and proposed owner checks are editorial recommendations, not hands-on test results. Exact model, hardware revision and current instructions govern where details differ.