By Smart Cam Guide
As an Amazon Associate I earn from qualifying purchases. Purchases through our links may earn us a commission at no extra cost to you.
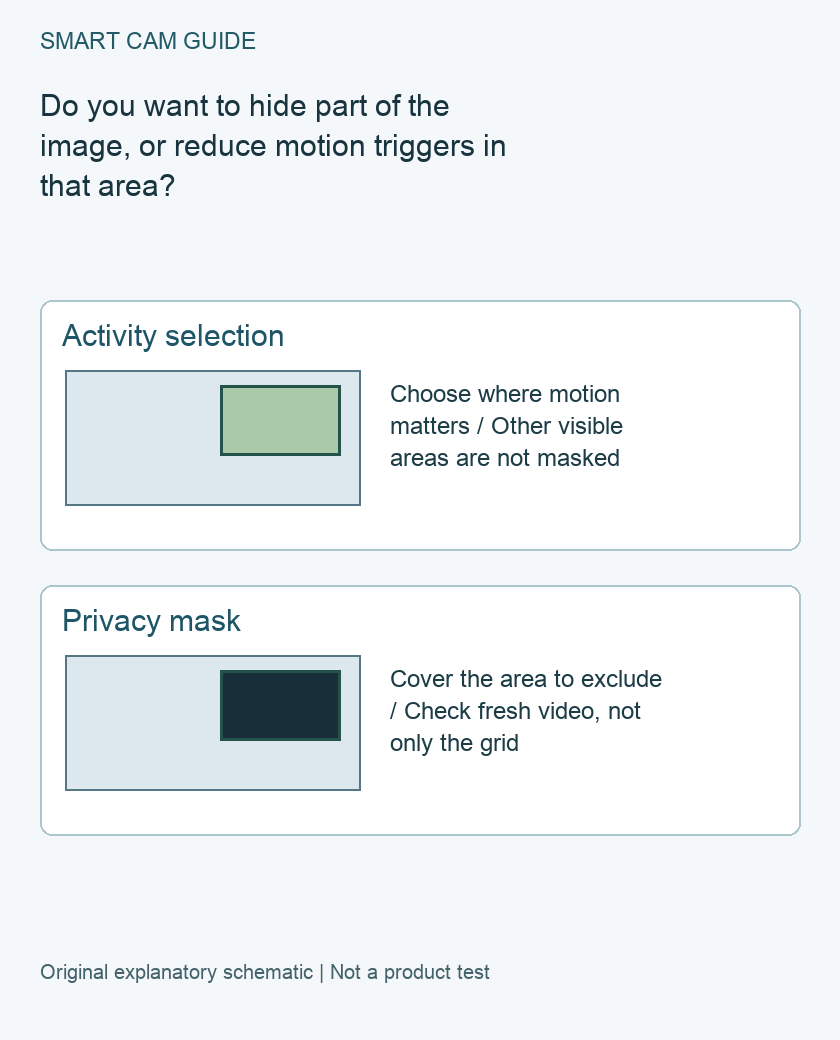
Use Privacy Zones when a selected part of the Blink Outdoor 4 picture should be hidden. Use Activity Zones when the goal is to reduce motion triggers from part of the view. A gray area in an activity-zone editor is not proof that the corresponding image area is obscured in a saved clip.
Blink’s current Privacy Zones guide explicitly includes Outdoor 4 and permits up to two privacy areas. It does not establish the same feature set for every camera with Blink in its name. This guide is scoped to Outdoor 4; check the current model-specific controls if your device differs.
Write the goal before opening the zone editor
Choose one of two sentences: “I want this part of the picture hidden,” or “I do not want movement here to trigger the camera.” These can be separate requirements. For example, an area outside the entrance may be irrelevant to motion alerts while still remaining visible when someone uses the entrance.
Start with camera placement. Aim at the part of your property you actually need to monitor rather than trying to solve a poor viewing angle with increasingly complicated zones. A mask that removes the approach you need to see is not a successful coverage plan.
Set an Outdoor 4 privacy area deliberately
Blink documents Device Settings → Motion Settings → Motion Zones, then the Privacy Zones tab. Update Photo so the editor uses a current thumbnail. Draw the required areas and save the changes using the controls shown in your app. Its guide allows two zones and says an existing saved layout may need to be reset and recreated rather than edited in place.
The same guide shows resize and move controls while zones are being created. Treat the saved result as something to verify, not a reason to assume that a later layout change will preserve your intended boundary. App revisions can change how the controls appear.
Keep a note of what each zone is intended to cover. If the camera is moved, tilted or removed for servicing, take a new thumbnail and check those boundaries again. A drawing that matched the old view may cover the wrong part of the new one.
Activity Zones solve a different problem
Blink describes Activity Zones as a way to exclude areas that generate unwanted motion notifications. Its motion guidance also notes that changing light can produce image changes in an active area. A passing car outside your selected area may therefore still affect the part of the picture you monitor.
Do not respond to every unwanted clip by widening a privacy mask. First ask whether the image should be hidden or whether the motion selection and camera angle need adjustment. Changing retrigger time is another separate decision: it affects gaps between events rather than which part of the image is masked.
Check a fresh view and a newly saved clip
- Confirm the camera’s present view matches the thumbnail used to draw the zones.
- Open a fresh live view and inspect the intended boundary, including its edges.
- With the people involved informed, make an ordinary movement in the monitored area and check a newly saved clip using the storage route you rely on.
- Verify that the protected area is hidden and the required entrance or path remains visible.
- Save the setting date and result so the layout can be checked after the next physical move.
A thumbnail showing a rectangle is less evidence than the actual new video. Do not use an old clip as the only test of a setting just changed. This is a proposed owner check; we have not tested a physical Outdoor 4 or certified every export path.
Keep image masking separate from other privacy choices
This article describes image areas. It does not establish that audio has been disabled, that every shared account sees identical controls or that old recordings have been removed. Check those requirements separately in the relevant settings and saved results instead of assuming one rectangle changes every aspect of recording.
If the available controls cannot exclude the area you need, change the mounting position or pause use until the arrangement is suitable. Buying another camera solely because it has a feature called zones is not enough: confirm that it actually provides image masking on the exact model, not only motion selection. No replacement product is selected here.
Related guides
- Blink Outdoor 4 Retrigger Time: Why Clips Can Miss the Next Event
- Blink Outdoor 4 Batteries: USB-C Power Is Not a Charging Plan
- Tapo Detection Zones vs Privacy Zones: What Gets Recorded?
Sources and research scope
Reviewed October 24, 2026. Blink How to set up Privacy Zones; Blink Understanding Motion Detection. This is document-based guidance by Smart Cam Guide. The decision worksheet and proposed owner checks are editorial recommendations, not hands-on test results. Exact model, hardware revision and current instructions govern where details differ.